
Taping and mudding, done patiently
The quiet, repetitive work that turns separate sheets into one unbroken wall.
Get a free estimate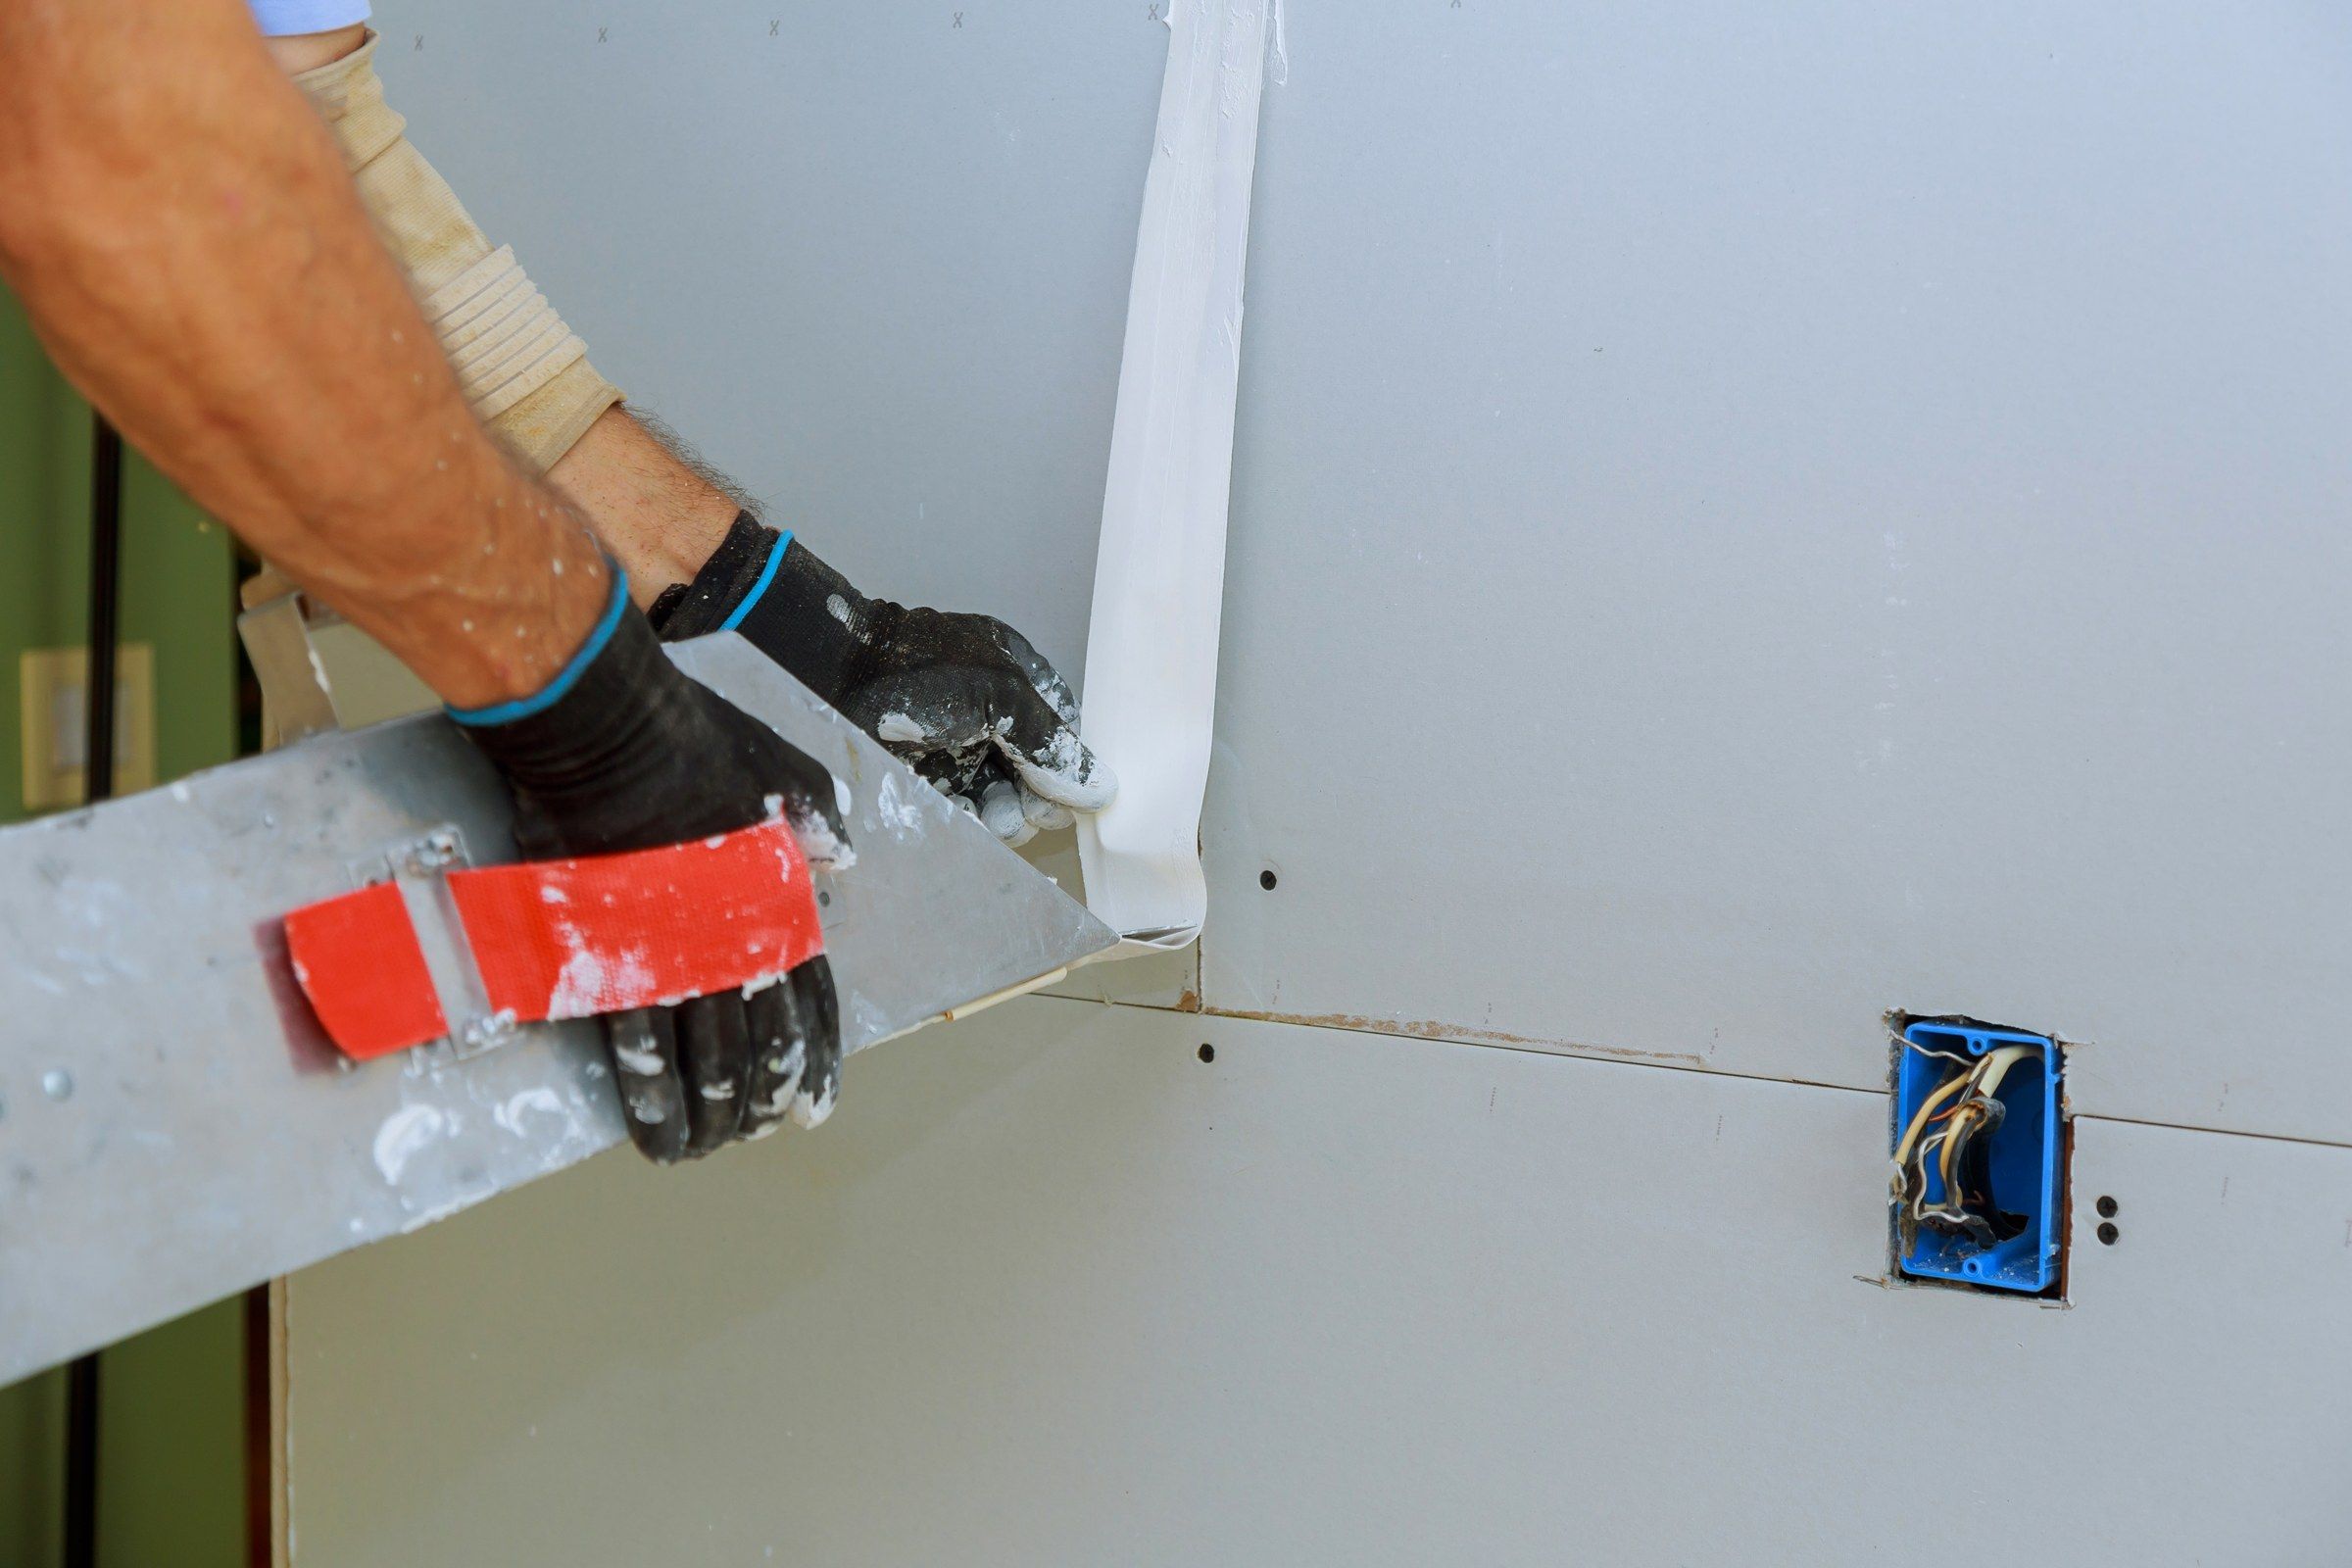
Taping is a craft of small margins. The compound must be the right consistency. The knife must be held at the right angle with the right pressure. Each coat must be thin enough to dry properly and wide enough to disappear. None of it is difficult to describe, and all of it takes years to do well.
We offer taping and finishing as a service in its own right. If your carpenter has hung the board, or you have, we are happy to take it from there.
What the work consists of
Every flat joint and inside corner is bedded with paper tape in compound. Outside corners receive bead. Fastener heads are spotted. Then a second coat, broader, to cover the tape and begin leveling the joint. Then a third, broader and thinner still, feathered to nothing at its edges.
Butt joints, where two untapered ends meet, are the test. They cannot be recessed, so they must be floated out very wide to avoid a visible ridge. We give them the width they need.
When taping is engaged on its own
- Carpenter-hung remodels
- A common and sensible division of labor.
- Owner-hung projects
- Attics, basements and additions boarded by the homeowner.
- Long-unfinished rooms
- Board that has stood bare for years.
- Corrective work
- Blistered, cracked or visible joints taken back and redone.
Coat by coat
Inspection and preparation
Fasteners set, gaps pre-filled with setting compound, bead fixed.
Bedding coat
Tape embedded and wiped down firmly.
Fill coat
Tape covered, joint leveled, fasteners re-coated.
Finish coat
A wide, thin pass, feathered out.
Sanding
Lightly, by hand and pole, with a lamp held to the wall.
Tape, compound and time
We tape with paper. Bedded properly it is stronger than mesh and makes a flatter joint. We use an all-purpose compound for bedding, where adhesion matters most, and a lighter topping compound for the final coat, where sandability and a fine surface matter most.
The ingredient no one can supply faster is time. Each coat must dry through before the next. We plan the calendar accordingly and do not hurry it with heat guns.
What patient taping yields
Joints that vanish
Under primer and under paint.
Little dust
Clean knife work leaves little to sand.
Durable seams
Fully bedded tape resists seasonal movement.
A surface ready for the next step
Whether Level 4 or a Level 5 skim.
On cost, and what moves it
Taping is priced on the quantity of board and the level of finish wanted, and then adjusted for how the board was hung. Tight joints and well-set screws tape quickly. Wide gaps, proud fixings and cut ends meeting in the middle of a wall all add coats and hours.
Height and detail add more. Sloped ceilings in a finished attic, the angled walls of a dormer, an arched opening, a stairwell: each takes longer than plain flat wall. The number of corners counts for a great deal, since every one is worked by hand.
Why the conditions matter so much
Joint compound is largely water, and it hardens by giving that water up to the air. In a room too cold or too damp it dries slowly, shrinks more than it should, and may crack along the tape. In a room where heat is directed at one patch of wall, it dries too fast and cracks for the opposite reason.
What it wants is ordinary room warmth, held steady, and gently moving air. We ask for the heating to be on from the day before we start. In a house heated by radiators, where the air is still, a small fan in the room makes a marked difference.
Where new board meets old plaster
This joint deserves a section to itself, because in older houses it occurs constantly and is the one most likely to crack. Board and plaster differ in thickness, in stiffness and in how they respond to the seasons. Laid edge to edge and treated as an ordinary seam, they will part company within a year or two.
We bring the board to the plane of the plaster with shims or by building up. The edge of the old plaster is cut back to firm material. The joint is then bedded with a setting compound and reinforced across a generous width, and feathered out further than a normal seam so that no line shows.
It is slower than taping board to board. It is also the difference between an addition that looks added and one that looks as though it has always been there.
The sequence, briefly
First the board is checked and put right. Then tape is bedded in a full layer of compound along every joint and into every inside corner, and outside corners receive their bead. A second coat fills. A third, wider and thinner, blends the joint into the face of the board. Then a light sanding with a lamp held along the wall.
That is three working visits at least, with drying between. Where the highest finish is wanted, a thin coat is drawn over the entire surface as a fourth step.
What we would ask of you, and what follows
Steady heat, the rooms left undisturbed between coats, and a word in advance about the paint you intend. If you hung the board yourself, a few photographs will let us say honestly what it needs before taping.
When we have finished, the surface is ready for primer. Prime it, and then look again in daylight before the color goes on. Primer has a way of revealing small things while they are still easily mended.
A few particulars
There are two families of compound. One comes ready mixed and hardens as it dries. The other comes as a powder and sets by chemical action in a fixed time, whatever the weather. The setting kind is harder and shrinks less. The ready-mixed kind sands more easily. Good work uses both: the first for filling and often for bedding tape, the second for the final coat.
Joints between cut ends are where taping is judged. With no factory recess to receive it, the tape sits slightly above the surrounding board, and only width will hide that. Such a joint is feathered two feet or more on a wall, and further on a ceiling in daylight.
Inside corners are worked one side at a time. One side is coated and left to dry before the other is touched. Coating both at once drags the knife through fresh compound and leaves the corner ragged.
Sanding should be the smallest part of the work. If the coats have gone on thin and true, there is little to remove. Long, hard sanding is a sign that too much was applied.
As for dust: the room is sealed, the registers covered, and the sanding done with vacuum tools wherever the surface permits. A fine film in the work room is to be expected, and very little beyond it.
If your project has a fixed date, tell us at the start. The order of rooms can be planned around it, and setting compounds used where they help. What cannot be done is to coat over compound that is still wet.
Before and after
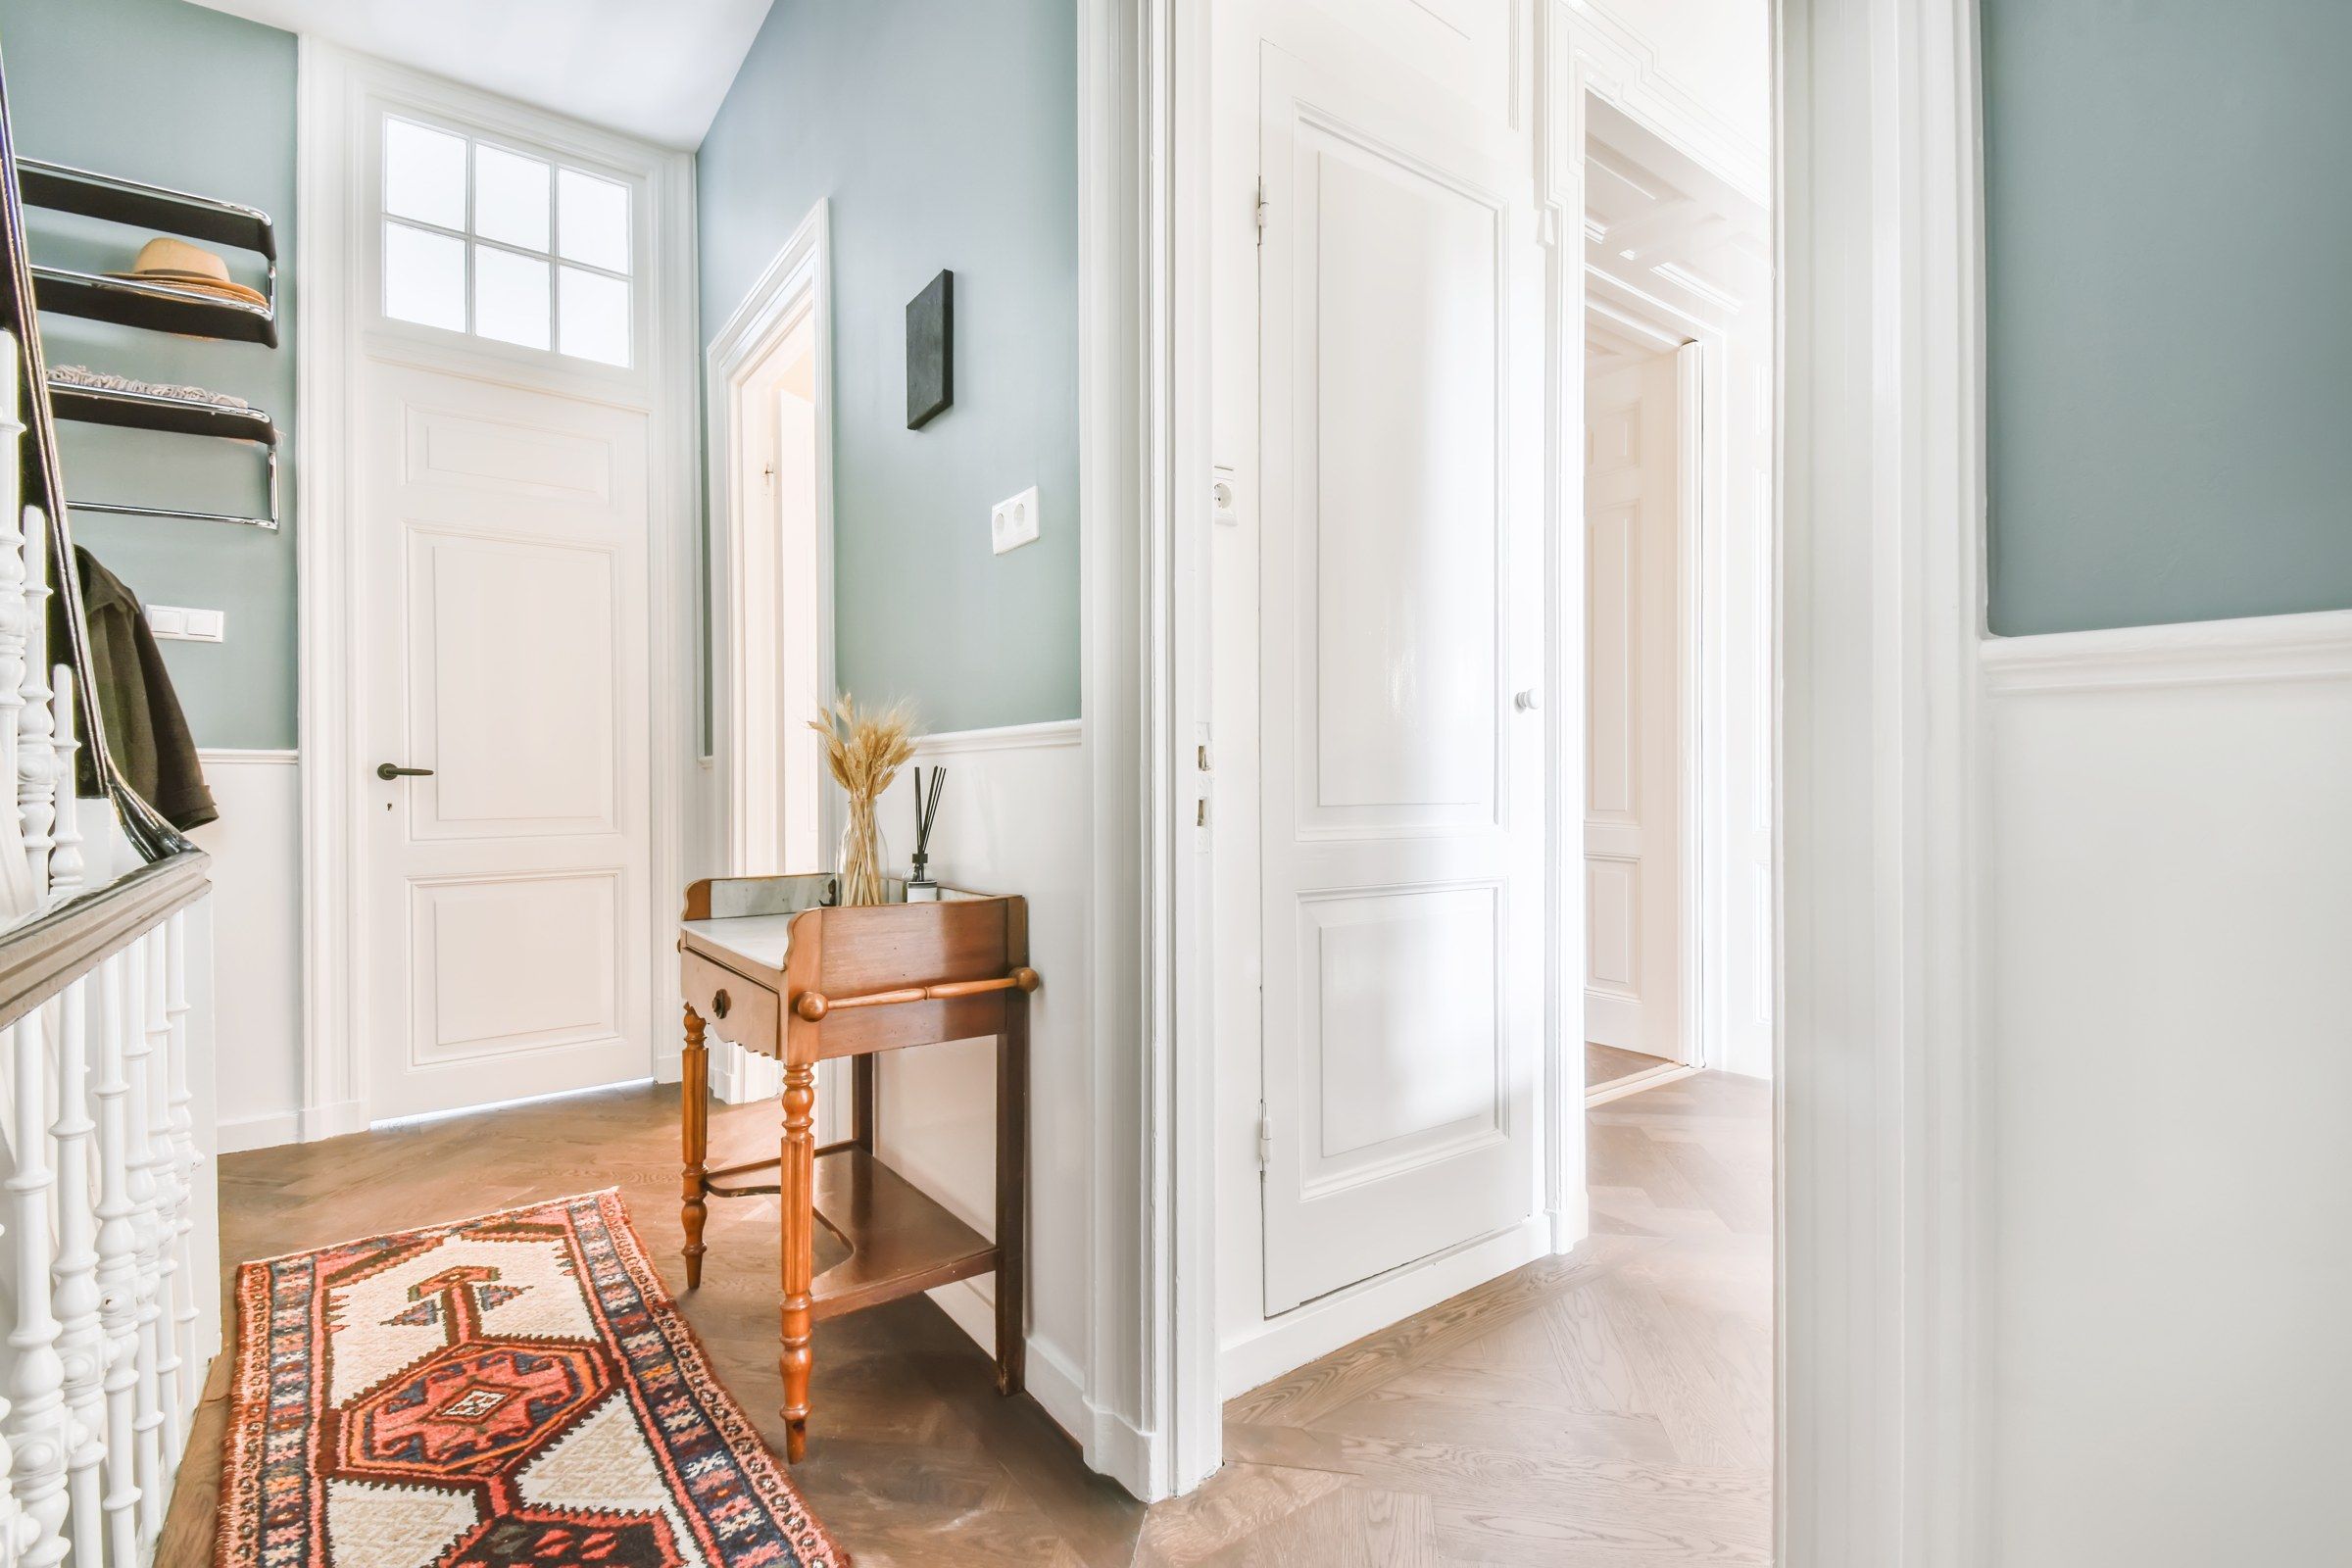
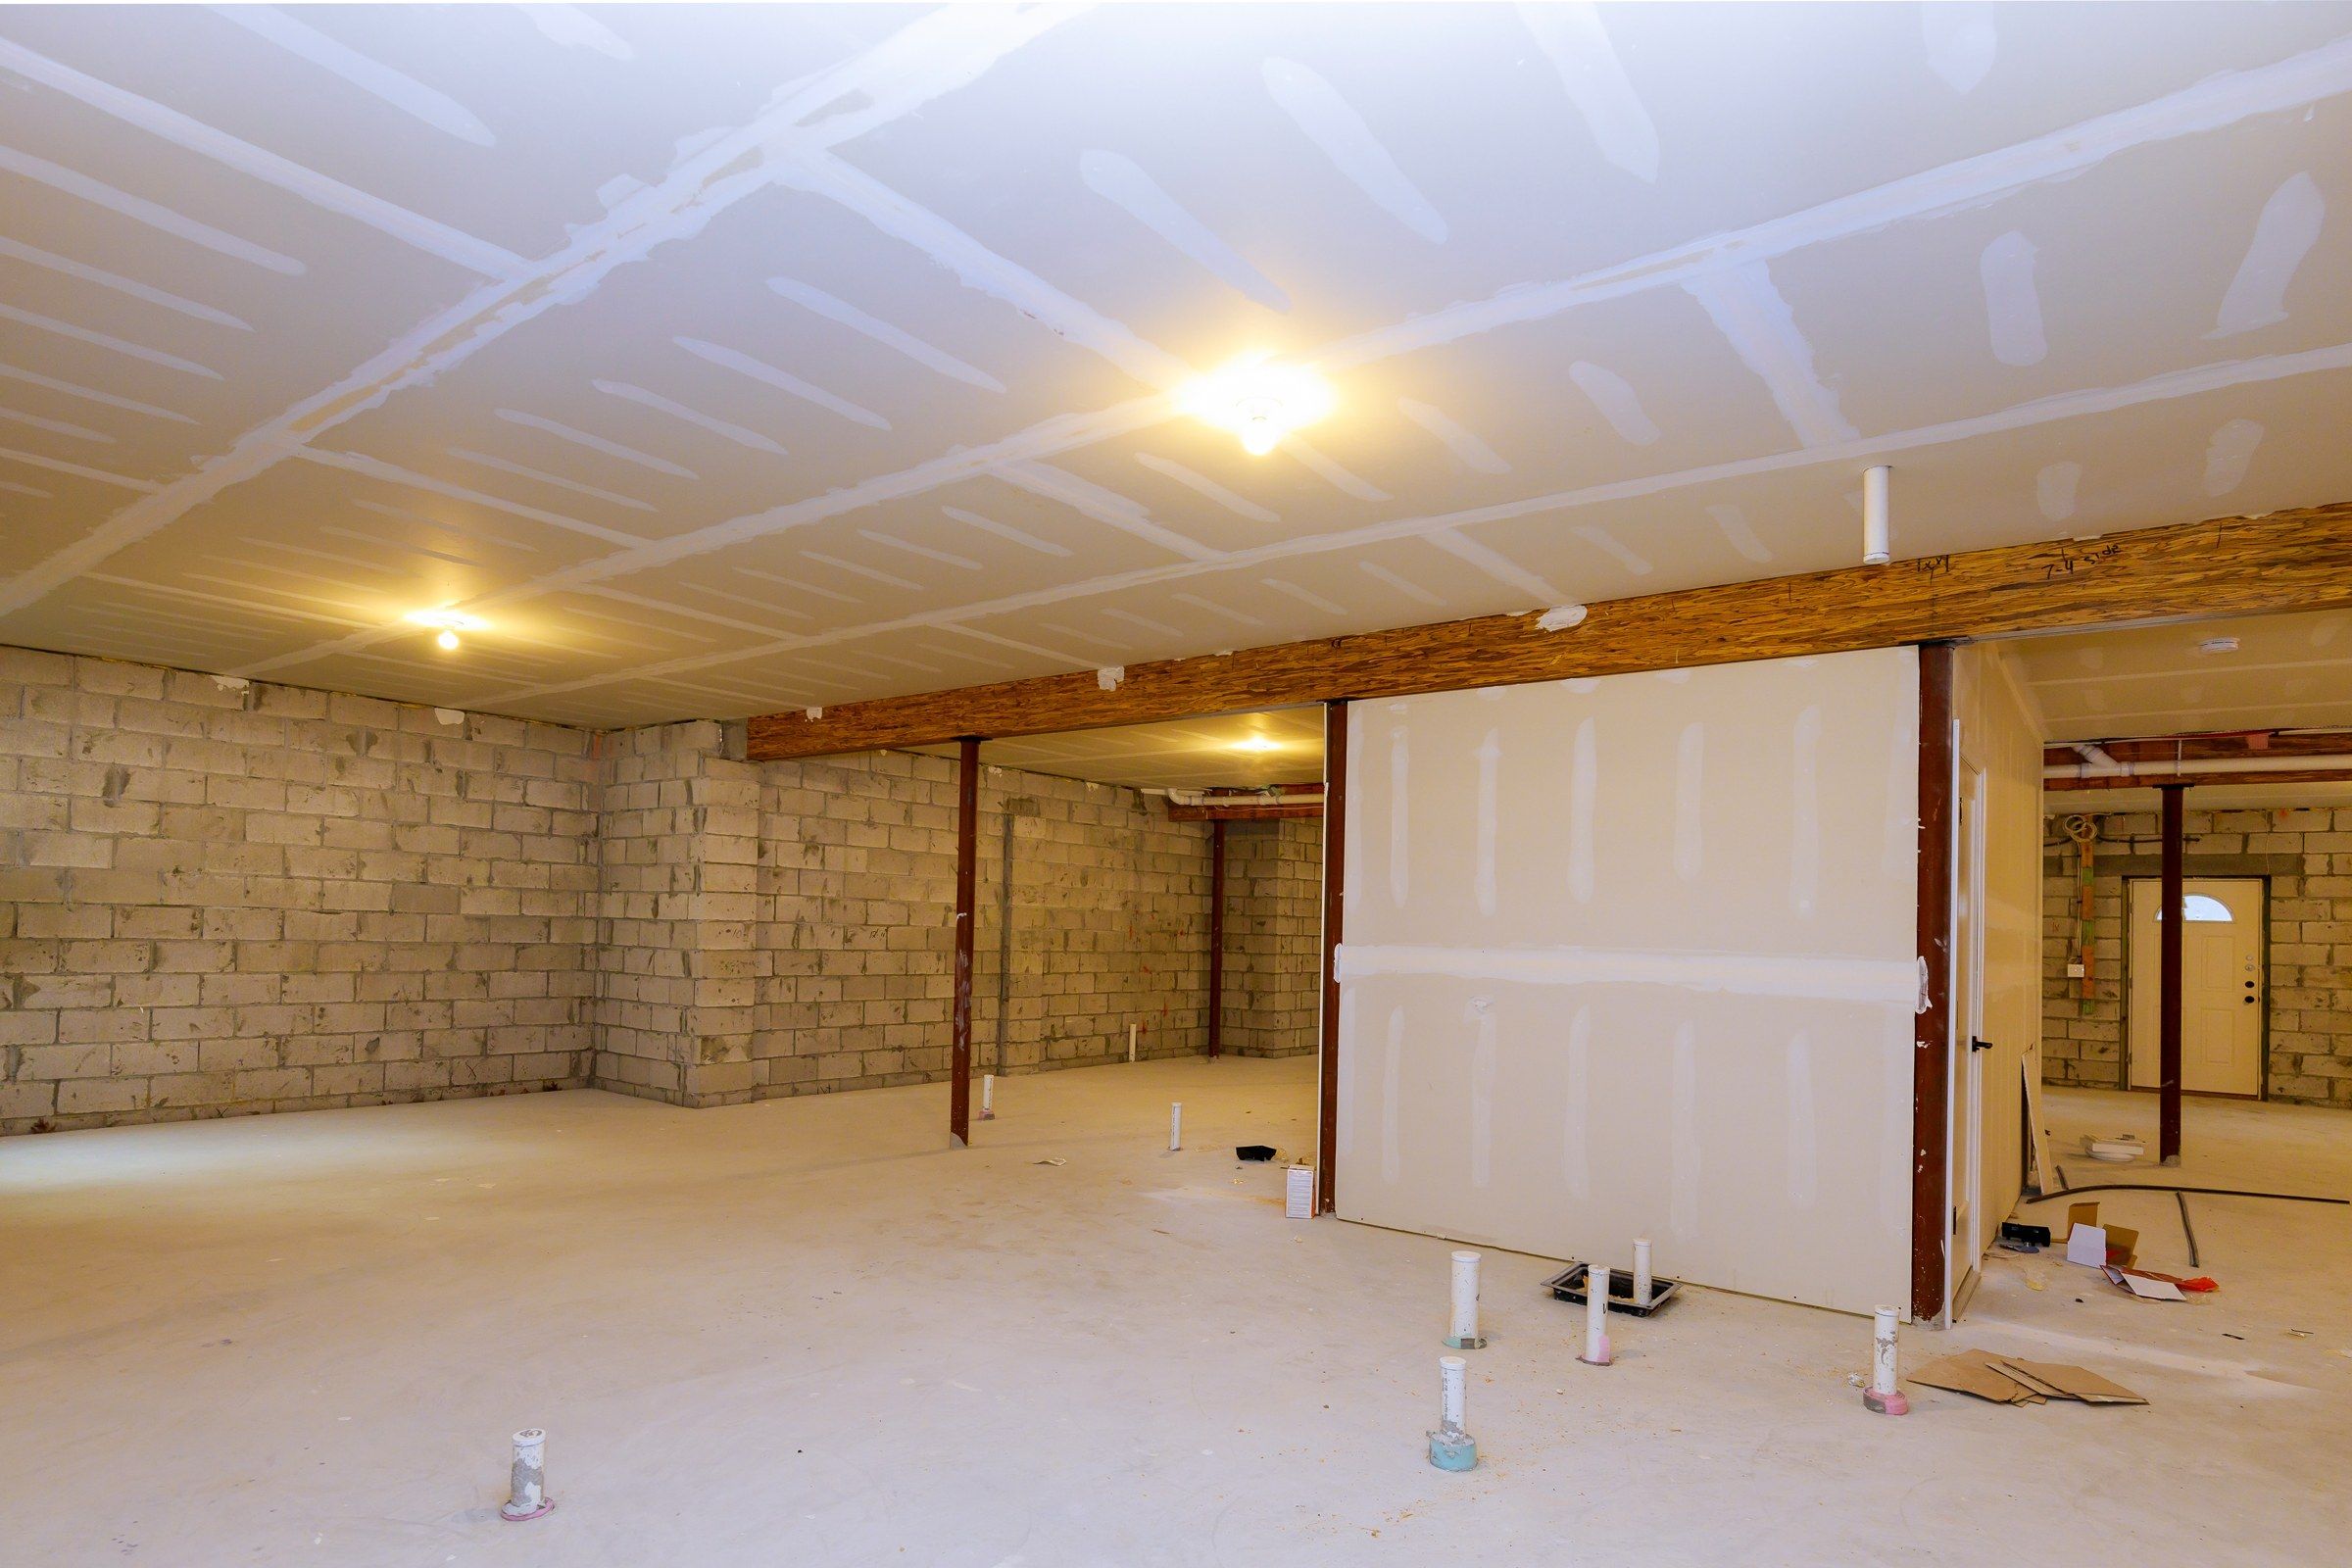
Illustrative stock photographs, not a project of our own.
A note on older framing
In the houses of Wauwatosa, new board is often hung on old studs: full-dimension lumber that has twisted and settled for a century. Joints over such framing need more floating to come out flat.
We look at the framing behind the board, not just the board, when estimating taping in an older home.
Questions on drywall taping and mudding
Will you finish board someone else hung?
Yes. We inspect it first and note anything that should be corrected before taping.
Why paper and not mesh tape?
Paper is stronger with standard compounds and lies flatter. Mesh has its place in plaster repair, under setting compound.
How long will it take?
Usually four or five working days for a room, governed by drying.
Can you speed it up?
Setting-type compounds allow some coats to follow sooner. We use them where it makes sense, not as a shortcut.
What should I do before you arrive?
Clear the room, ensure it is heated, and have the board fully fastened.
Related
Work often done alongside
Drywall Finishing
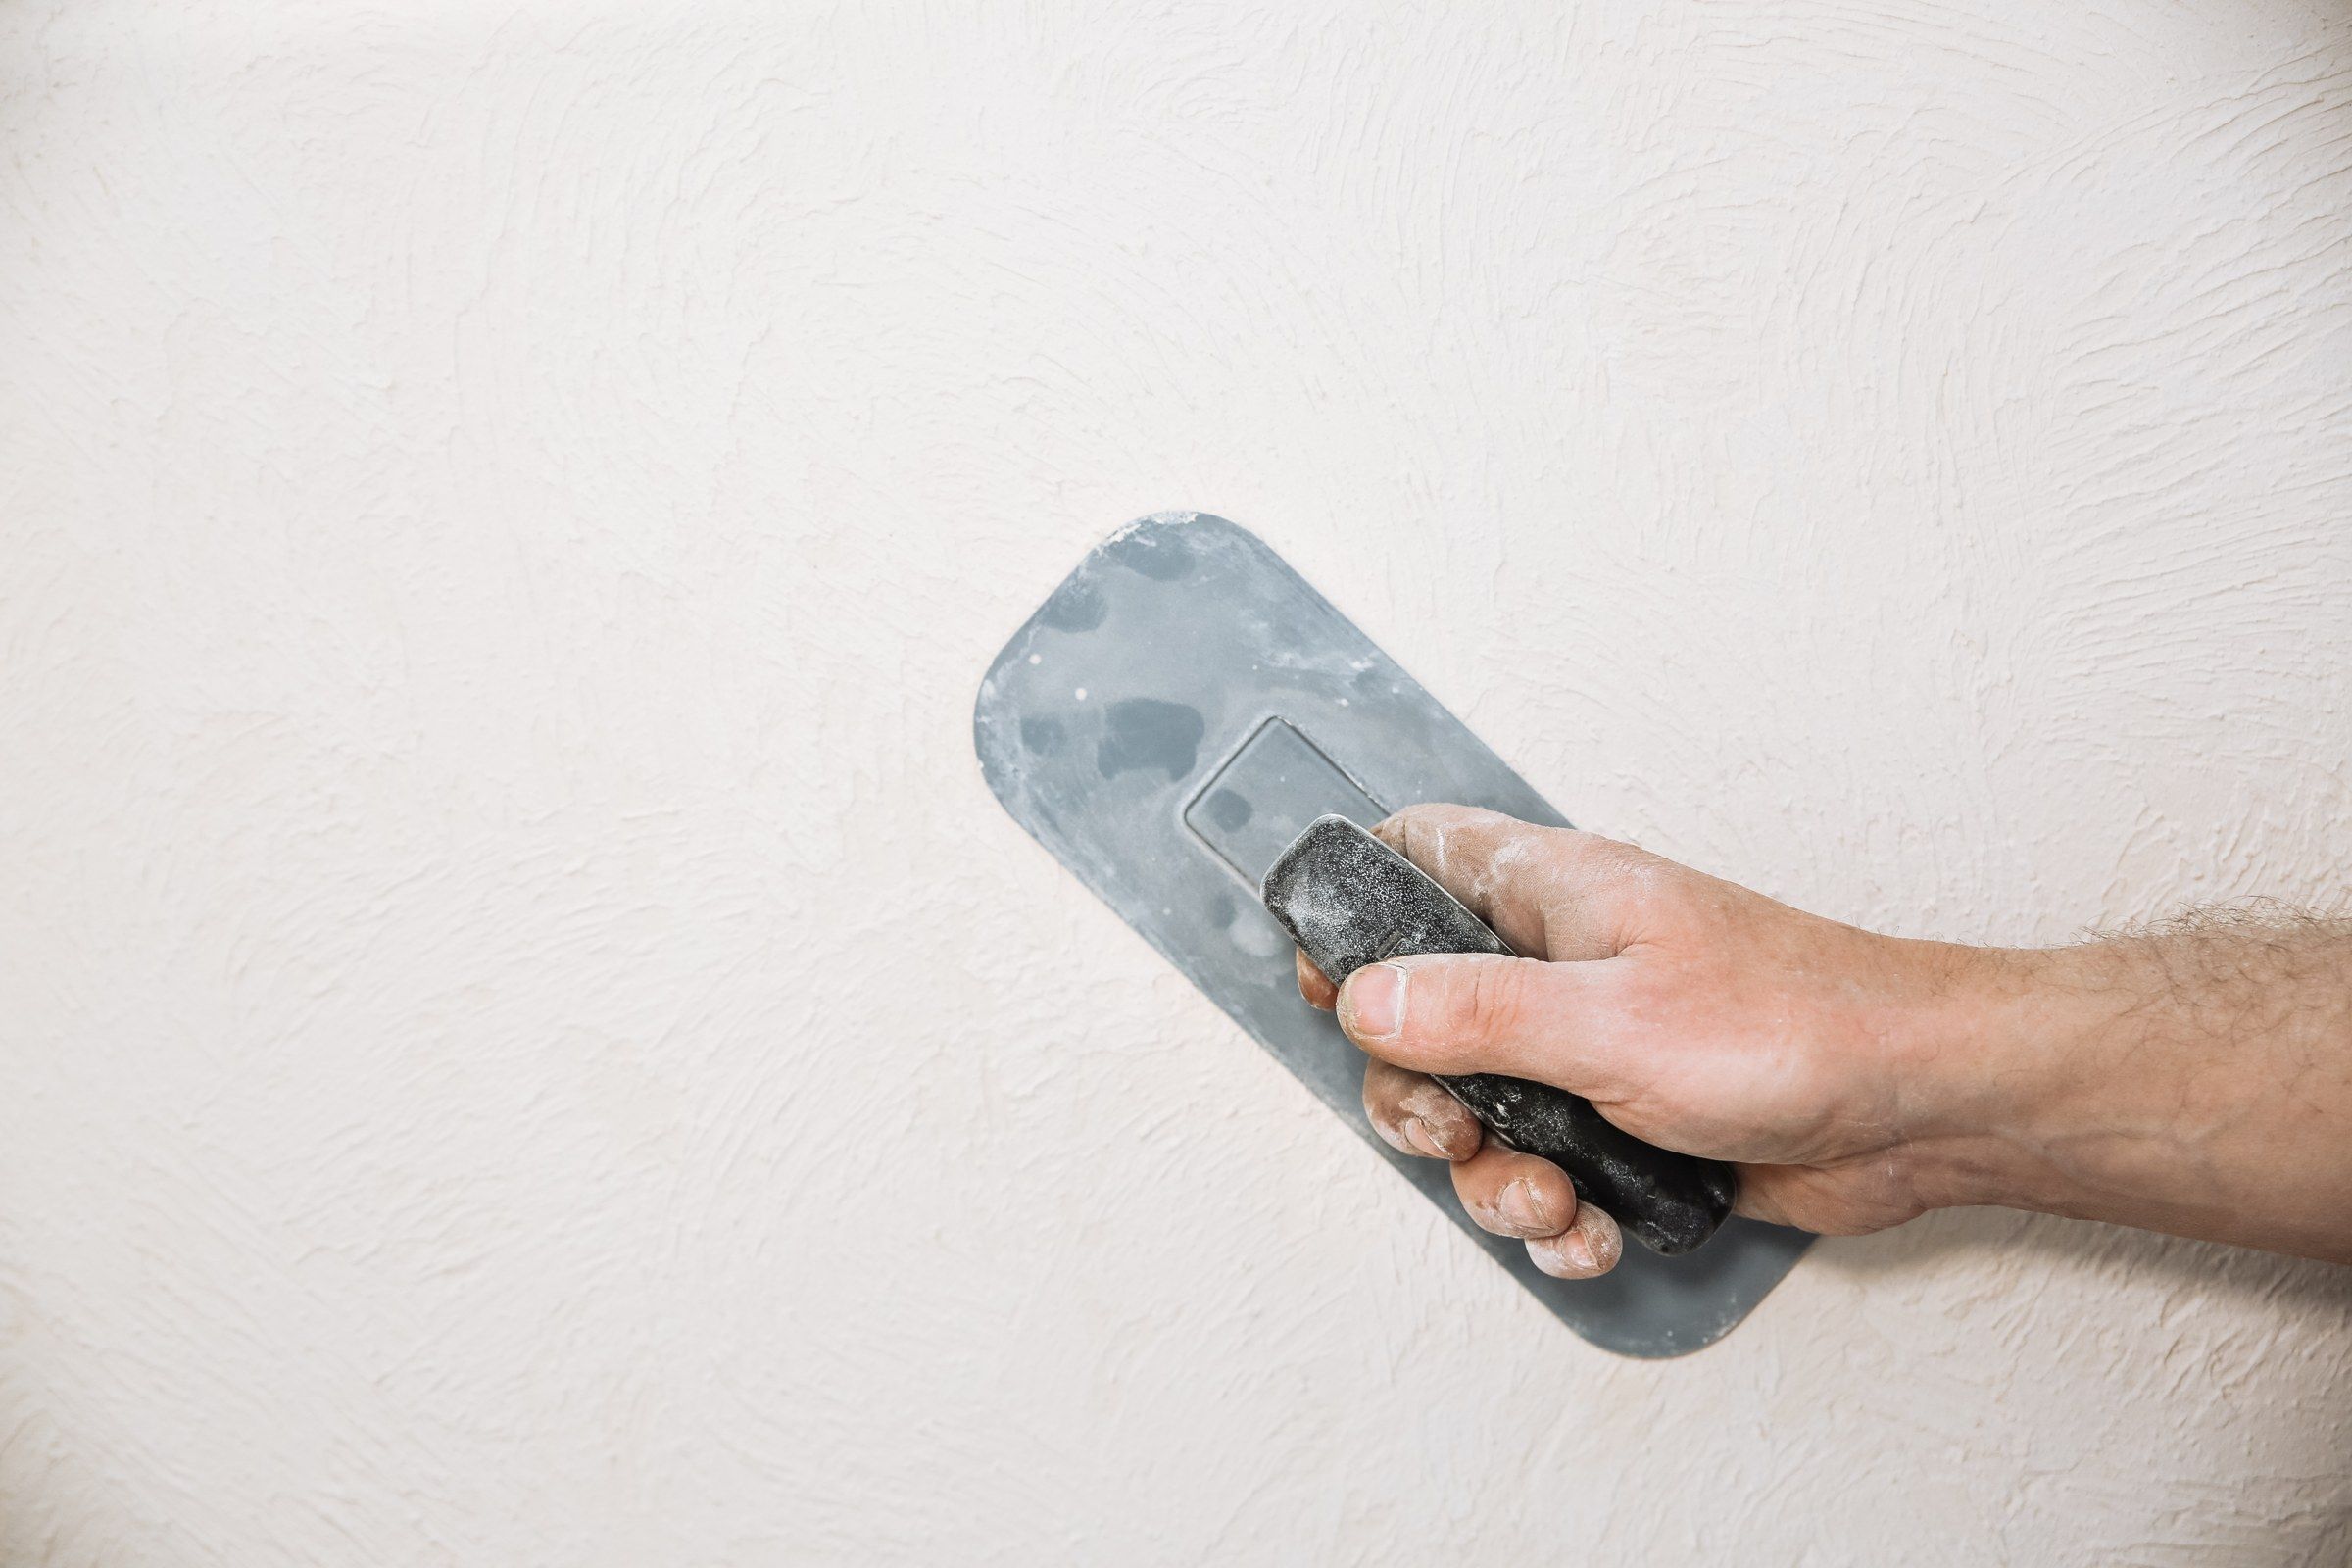
Level 5 surfaces, skim coats and plaster-like finishes for rooms that deserve them.
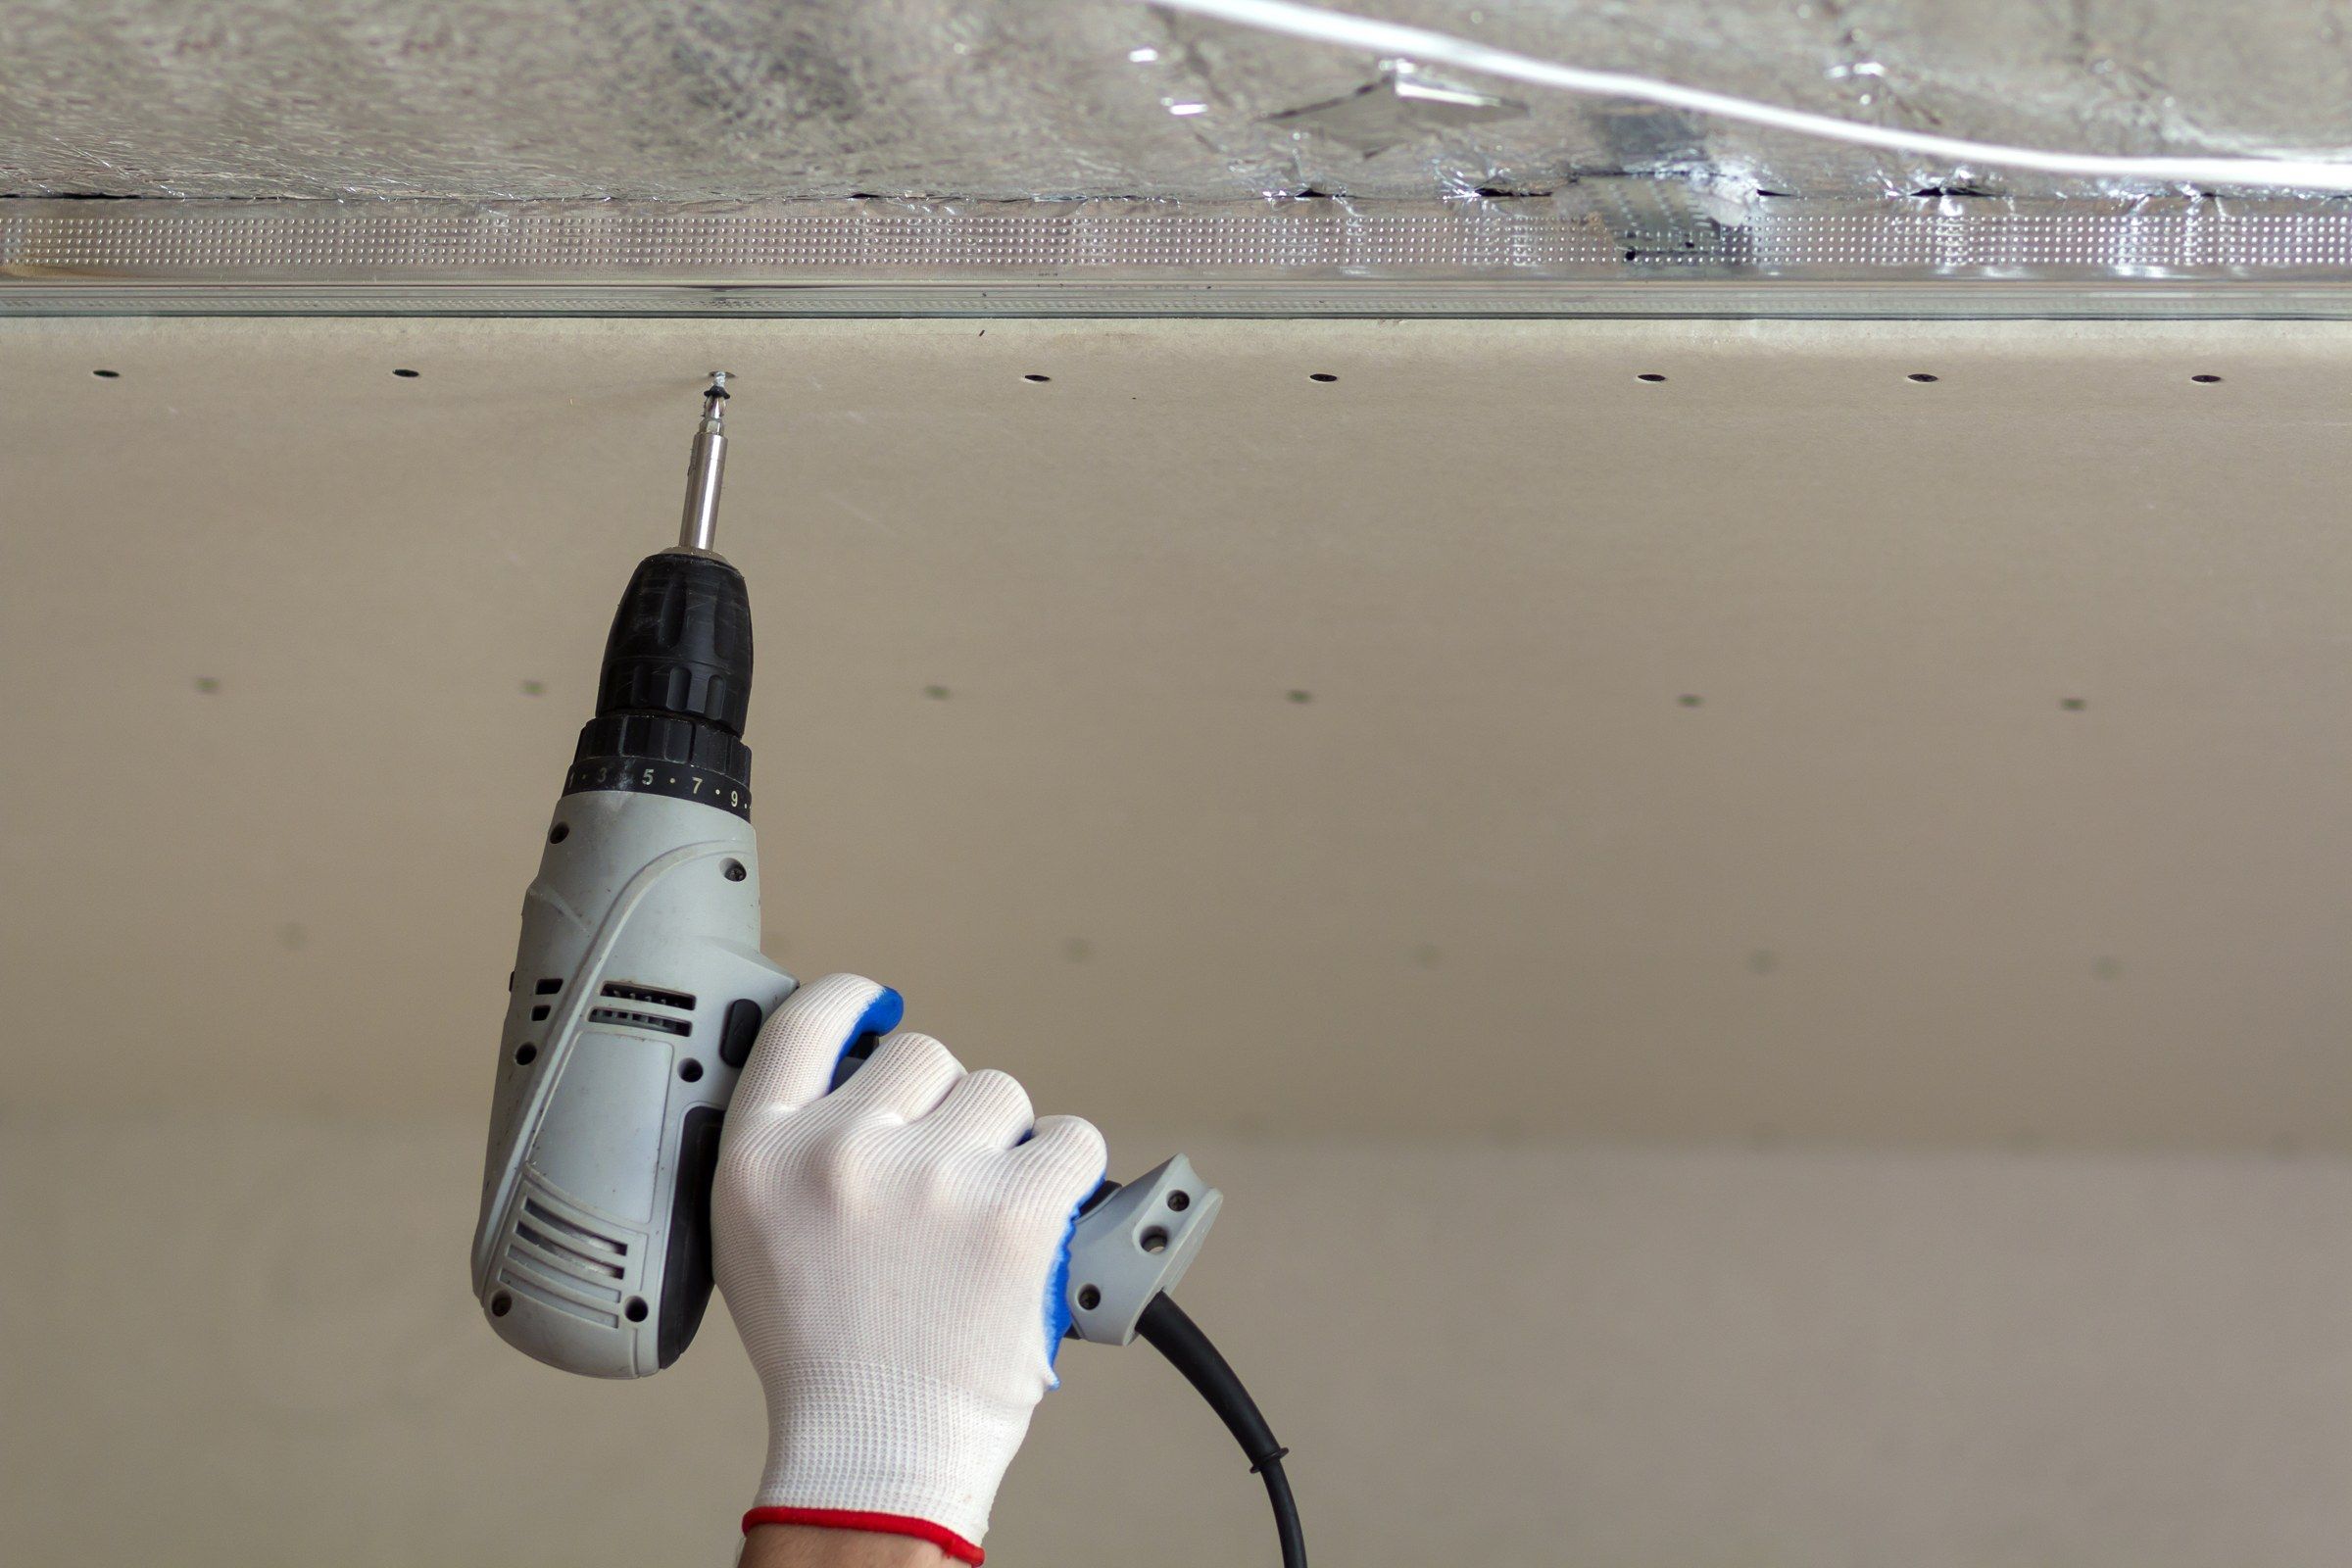
Drywall Installation
Board set out and hung with the finished surface already in mind.
Basement Drywall Installation
Lower levels finished with respect for old foundations and low ceilings.
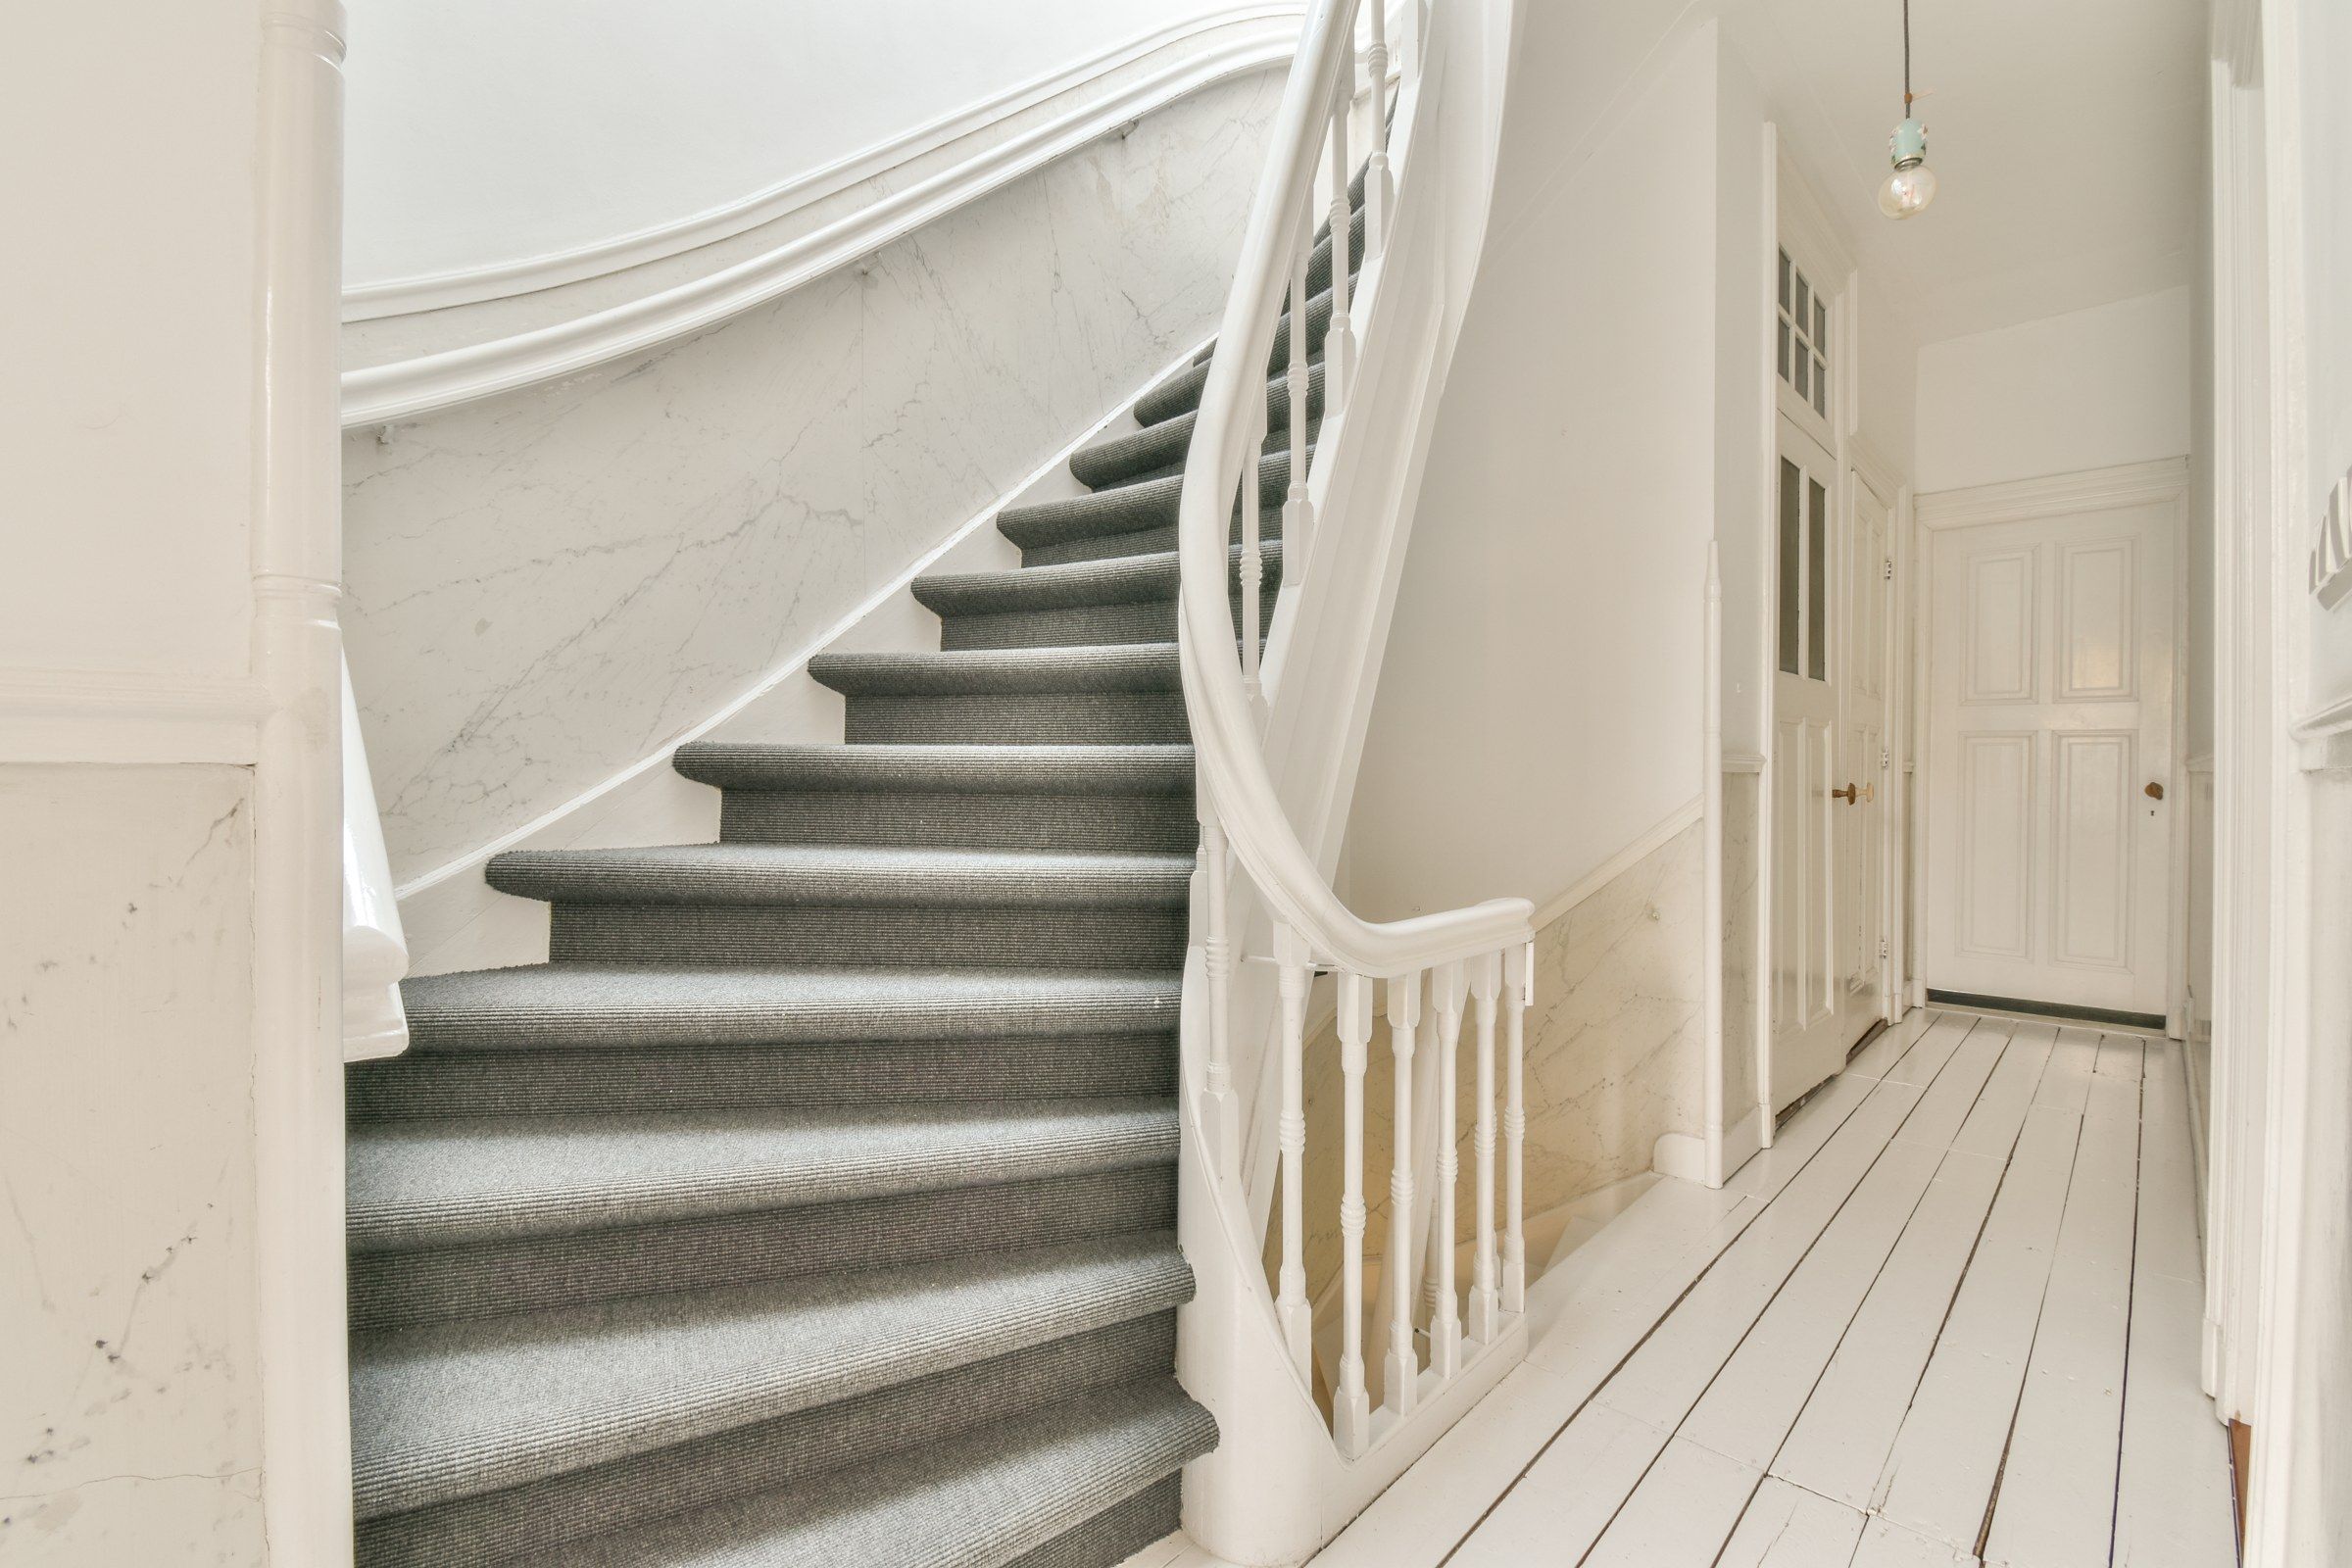
Residential Drywall Services
Drywall and plaster-sympathetic work for the houses of Wauwatosa.
May we quote for this?
Tell us about your drywall taping and mudding project in Wauwatosa. A written estimate follows, without charge.
Get a free estimate